- Published on
How to Introduce Delay in Fetch/XHR Responses Using Receptor
- Authors

- Name
- Receptor AI
- @receptor-io
How to Introduce Delay in Fetch/XHR Responses Using Receptor
Slow network conditions can reveal how your web app performs under stress. With Receptor, you can introduce delays to Fetch/XHR responses to simulate real-world scenarios right in your browser.
Why Introduce Delays in Responses?
- Performance Testing: Ensure your UI remains responsive during slow API calls.
- User Experience: Simulate rural or mobile network speeds to optimize loading states.
- Debugging: Identify race conditions or timeouts in your app.
How to Add Delays with Receptor
Step 1: Install Receptor
Add Receptor to Chrome from the official site.
Step 2: Create a Delay Rule
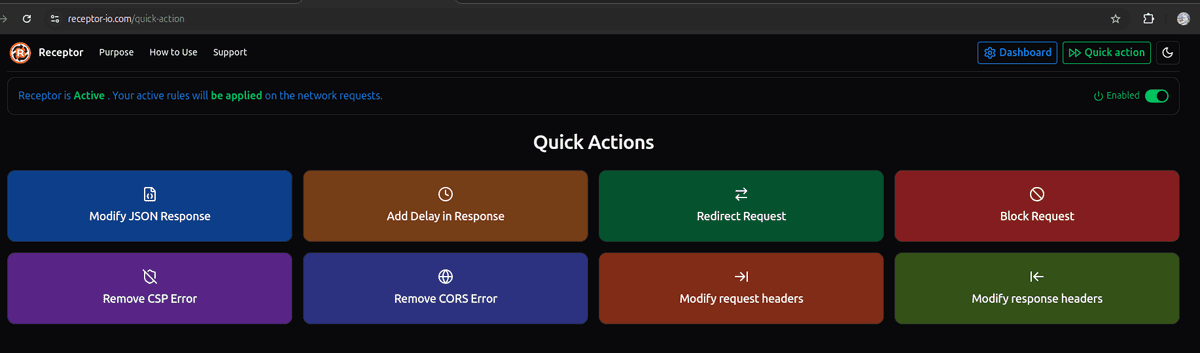
- Open Quick action.
- Click on tile "Add Delay in Response".
Step 3: Set the Delay
- Choose “Request url” from the request.
- Specify the delay duration (e.g., 2000ms).
- Save the rule.

You can see newly created fetch/xhr rule in the dashboard.
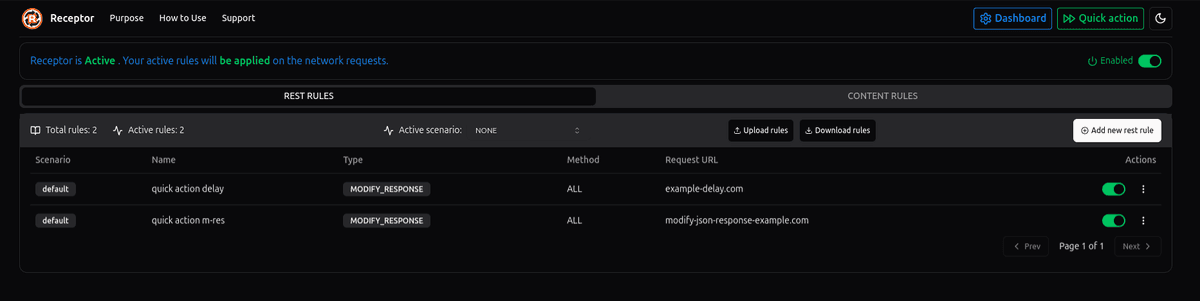
Make sure Receptor is enabled. You can see if Receptor is enabled or noton top right corner in the extension popup and Receptor app.
Step 4: Test the Delay
Re test app and experience the delayed response.
Try It Now
Enhance your testing with Receptor—download it today!